
Last updated October 30, 2026
 Architectural shingles
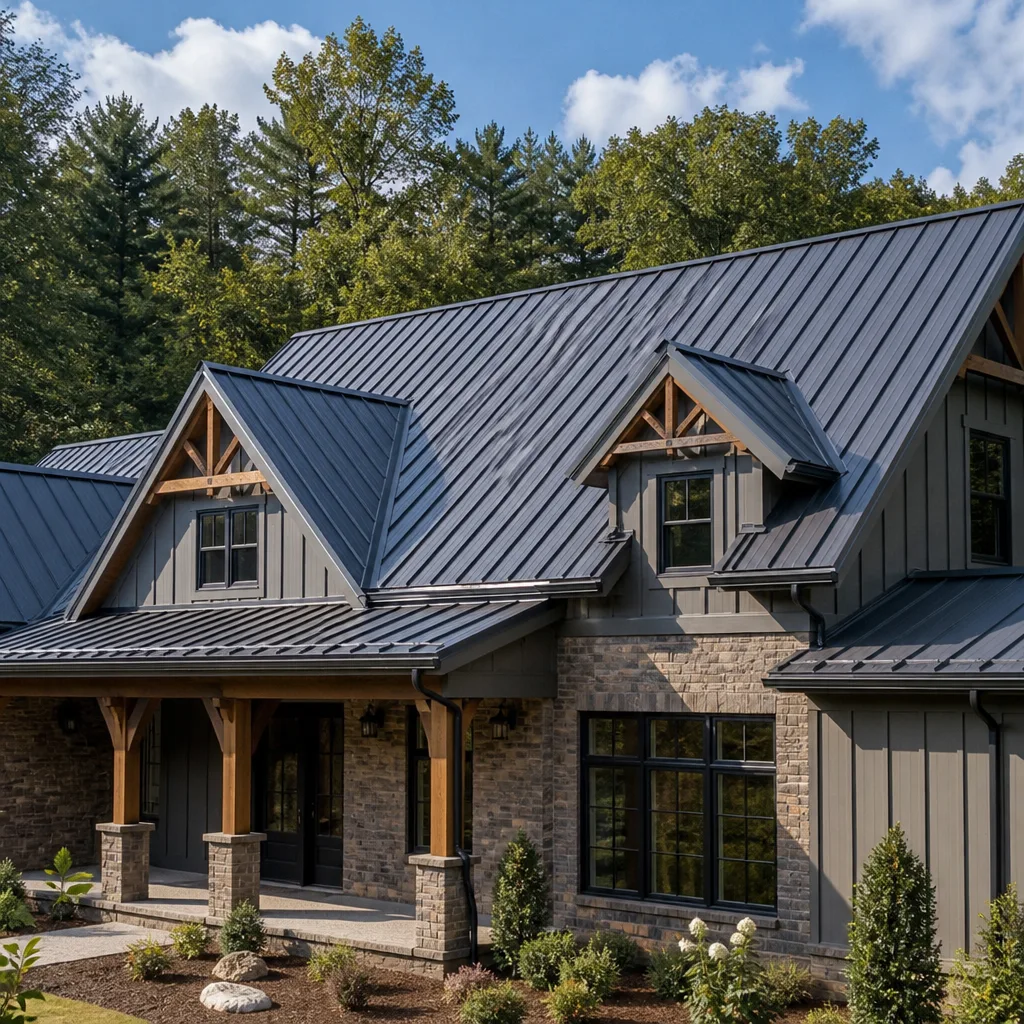 Metal roofing
 Tile roofing
 GAF
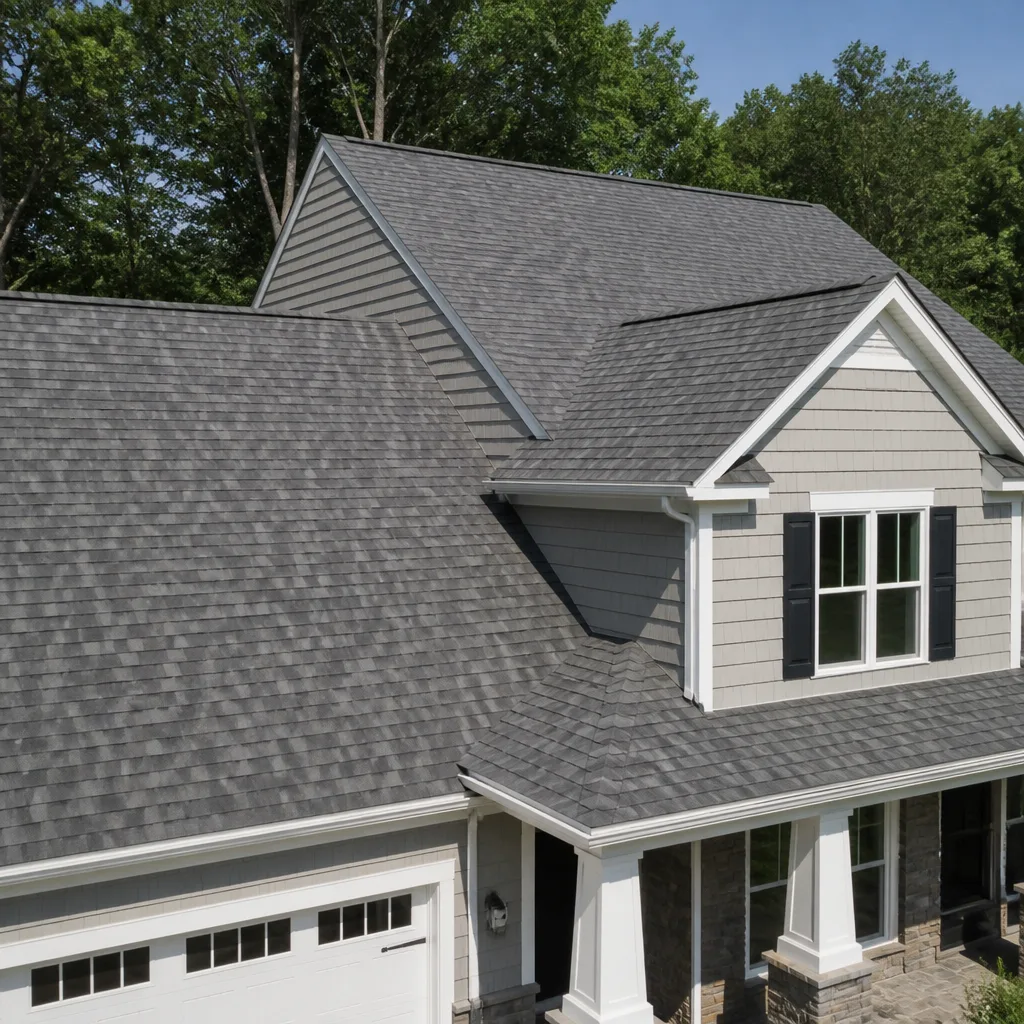 Owens Corning
 Flat & low-slope
Free roof inspection with deck photos before we talk money - GAF and Owens Corning certified installation
Roof Repair Maintenance Checklist for Westminster Homeowners
The single most skipped maintenance task in Orange County – clearing the gap between the roof deck and ridge vent of compacted debris – causes more attic moisture damage than any storm event Westminster gets in a typical year. Homeowners faithfully clean gutters and glance at shingles, but the ridge vent channel sits out of sight and out of mind until a musty smell or ceiling stain forces the issue. This guide is the maintenance calendar we wish every Westminster homeowner had before calling us for a repair that could have been prevented. You’ll learn what to check, when to check it, why the timing matters in our specific climate, and which five neglected items quietly void manufacturer warranties.
Styles & brands we work with
Quick Answer
A Westminster roof needs a bi-annual inspection timed to two specific windows: September, after the marine-layer bake cycle peaks, and November, before Santa Ana winds arrive. The core tasks are clearing the ridge vent gap and gutters, checking sealant around pipe boots and skylights for UV cracking, and documenting any granule loss on shingles. If you spot issues, our Roof Repair services can address them before they worsen. These checks take under an hour from the ground and catch the damage patterns that lead to 80% of the attic leaks we see in Westminster homes.
Table of Contents
- Why Westminster’s Weather Calendar Changes Your Maintenance Schedule
- The Bi-Annual Inspection: September and November
- The Five Maintenance Items That Void Manufacturer Warranties
- UV-Driven Sealant Cracking: The Leak Before the Leak
- Gutters, Fascia, and the Slow Rot Pattern in Older Westminster Stucco Homes
- What to Check From the Ground vs. What Requires a Roofer
- Santa Ana Season Prep: October Through December
- Common Mistakes to Avoid
- When to Call a Professional
- Frequently Asked Questions
- The Bottom Line
Why Westminster’s Weather Calendar Changes Your Maintenance Schedule
Most roof maintenance checklists you’ll find online are written for places with four distinct seasons – snow load in winter, ice dams in early spring, summer thunderstorms, and autumn leaf drop. Westminster has none of those. We have two stress windows that actually matter, and they don’t line up with the generic “spring and fall” advice. The standard checklist tells you to walk your roof in April and October. Follow that here and you’ll catch problems months after they’ve already started damaging your decking.
Westminster sits in a coastal-inland transition zone. Our marine layer burns off most mornings from late spring through summer, leaving roofs to bake in afternoon sun that routinely pushes surface temperatures past 140°F on asphalt shingles. That daily bake-and-cool cycle is what kills sealant, not rain. Then, starting in October, Santa Ana winds arrive – dry, gusty air that comes from the desert and hits roofs from a direction they never otherwise experience. Wind-driven debris, lifted shingle edges, and granule scouring all spike during this period.
The result is a two-window maintenance calendar: one inspection in September, when the marine-layer baking season has done its worst damage to sealants and adhesives, and one in November, positioned after the first Santa Ana events have shown you which shingle edges are loose and where debris actually accumulates on your specific roofline. Between these two checks, you’ll catch the problems that matter in Westminster before they migrate into your attic.
In our experience as a roofing-only company working throughout Westminster, we’ve seen this pattern repeat across every neighborhood from the older stucco tracts near Bolsa Chica to the newer developments east of the 405. Root cause of most attic moisture damage here isn’t rain volume. It’s the moisture-and-heat cycle we get at the end of summer, compounded by blocked ventilation that traps humid air against the underside of the roof deck.
The Bi-Annual Inspection: September and November
This is the disciplined core of Westminster roof maintenance. Two inspections per year, each with a specific purpose, each taking under an hour. Skip one and you’ve missed the evidence that would have prevented a repair call six months later. For Roof Repair Troubleshooting: Common Problems and How to Fix Them, see our detailed guide.
September Inspection: Post-Bake Damage Assessment
- Walk the perimeter at ground level with binoculars. You’re looking for shingle edges that have curled upward or lost their granule coating. The September sun has just spent four months baking your roof. Curling at corners and along south-facing slopes is the first visible sign of shingle aging.
- Check every pipe boot and skylight flashing for sealant cracks. This is the single highest-yield check on a Westminster roof. Sealant around penetrations fails from UV exposure, not rain. If you see visible gaps, hairline cracks, or separation between the sealant and the pipe or flashing, you’ve found a leak that hasn’t reached your ceiling yet.
- Clear the ridge vent gap. From the ladder at the gable end, or from the roof if you’re comfortable and your pitch is walkable, look down the ridge vent channel. Debris accumulates there all summer – dirt, bird feathers, dried leaves from the few deciduous trees in Westminster yards. Compacted debris blocks airflow. Blocked airflow means the attic can’t vent the heat and moisture that have been building since May.
- Inspect gutter seams and end caps for granule accumulation. Your shingles are constantly shedding microscopic granules. You’ll never see it on the shingle surface, but you’ll see it in the gutters. A heavy accumulation of granules at gutter seams in September tells you the shingle surface is degrading faster than normal – early warning of a roof approaching end of service life.
- Photograph everything you observe. We’ll cover what to photograph in a later section, but the short version: take pictures from the same vantage points every time. September-to-September comparison photos are the most reliable way to track slow degradation.
November Inspection: Santa Ana Damage Assessment
- Re-check every shingle edge you photographed in September. Santa Ana winds will lift anything that was already loose. A shingle that was curling in September may be fully lifted or missing by November. You’re looking for exposed nail heads, missing shingle tabs, and edges that now sit higher than the surrounding course.
- Walk the yard perimeter looking for shingle material on the ground. After a Santa Ana event, pieces of shingle tab, granules, and sometimes entire shingles end up in planters, on walkways, and against fence lines. Finding shingle fragments in the yard tells you exactly which slope is shedding and where to focus your inspection.
- Check ridge caps for lifting or displacement. Ridge caps are the shingles most exposed to wind. Santa Ana gusts hit ridge lines at full force. A lifted ridge cap exposes the nail line and the gap between shingle courses – direct path for the rare rain we do get in late fall and winter.
- Clear gutters a second time. Even if you cleared them in September, ten weeks of fall debris plus Santa Ana wind-blown material will have filled them again. Blocked gutters in November set you up for overspilling water damage all winter.
- Document any new movement or damage and compare it to September photos. The comparison tells you if what you’re seeing is a one-time wind event or a progressive failure pattern.
The Five Maintenance Items That Void Manufacturer Warranties
Most homeowners don’t read their shingle warranty until a claim is denied. Warranty departments at the major manufacturers publish maintenance requirements, and failure to perform them is the most common denial reason we see. Here are the five items that show up repeatedly in warranty language from brands like Owens Corning, IKO, Atlas, and Tamko, and the specific Westminster conditions that make each one easy to overlook.
- Blocked roof ventilation. Most shingle warranties require “adequate ventilation” and define that as unobstructed intake and exhaust. The ridge vent debris problem we opened with is the Westminster-specific version of this failure. Blocked ridge vents trap heat and moisture, which accelerates shingle aging and gives the manufacturer a denial reason if you file a premature-failure claim. Clear the ridge vent channel twice a year.
- Unrepaired flashing or sealant around penetrations. Warranty language typically excludes damage “caused by or resulting from” failed flashing, faulty installation of non-shingle components, or lack of maintenance around penetrations. A cracked pipe boot sealant left unrepaired for two years will cause a leak, and the shingle manufacturer will point to that neglected sealant as the cause. Your September sealant check is the prevention.
- Gutters left clogged for extended periods. Clogged gutters cause water to back up under the shingle course at the eave. Warranty departments call this “standing water damage” and exclude it. In Westminster, where our rain comes in short but sometimes intense winter bursts, a gutter that’s been blocked since November can back up enough water to damage the eave shingle course in a single storm.
- Debris accumulation on the roof surface. Leaves, branches, and organic material sitting on shingles retain moisture against the granule surface. Over time this causes granule loss and shingle degradation. Warranty language requires homeowners to keep the roof surface “free of debris.” In Westminster, most debris arrives via Santa Ana winds, so your November inspection should include removing anything wind-deposited.
- Unaddressed granule loss documented over time. Granule loss itself is covered under some premature-failure warranties, but only if the homeowner can demonstrate it wasn’t caused by foot traffic, external damage, or neglect. If your September-to-November photo comparison shows accelerating granule loss and you do nothing, the manufacturer can argue the damage progressed due to inaction. Document it, and call a roofer when the granule loss accelerates.
Every shingle manufacturer writes these requirements slightly differently, but the theme is consistent: the warranty covers manufacturing defects, not maintenance neglect. The two-inspection rhythm above satisfies the maintenance obligations of the major brands we work with – Owens Corning, IKO, Atlas, Tamko, and the other leading manufacturers.
UV-Driven Sealant Cracking: The Leak Before the Leak
Here’s a scenario we see repeatedly in Westminster: a homeowner notices a water stain on a bedroom ceiling in January, after a rain event. They assume the leak started with that storm. It didn’t. The leak started in August, when the sealant around a pipe boot or skylight cracked under four months of accumulated UV stress. The crack sat there, invisible from the interior, for five months. When January rain arrived, the crack became a leak. The homeowner attributes the problem to the rain. The actual cause was sealant failure during the bake season.
Sealant – the flexible compound applied around pipe boots, vent pipes, skylight frames, and sometimes chimney flashing – is the most UV-vulnerable material on your roof. Asphalt shingles are engineered to handle UV exposure. Sealant is not. It dries, shrinks, cracks, and separates from the surfaces it bonds. In Westminster’s climate, where we get months of afternoon sun in the 80s and 90s with low humidity, sealant degrades measurably faster than it does in coastal communities like Huntington Beach or Seal Beach that stay cooler under the marine layer.
What to Look For
- Hairline cracks in the sealant surface. Look at the sealant bead around any pipe boot or skylight. Cracks that follow the contour of the pipe or flashing are UV stress. These don’t leak yet, but they will.
- Separation between sealant and pipe or flashing. The sealant should be bonded to both surfaces. If you can see a gap – even a thin one – between the sealant and the pipe, the bond has failed. Water will find that gap.
- Chalky or powdery appearance on the sealant surface. The binder in the sealant is breaking down. This is late-stage UV damage that requires replacement, not re-caulking.
- Shrinkage cracks at the sealant-to-shingle interface. The sealant where a boot meets the shingle surface takes direct sun. Shrinkage opens a path for water to run down the pipe and under the shingle.
Sealant replacement is a repair, not a replacement. It’s one of the highest-value roof repairs available to Westminster homeowners because it’s inexpensive relative to the damage it prevents. The September inspection is the time to catch these cracks – the bake season has just ended, and cracks present in September will leak in January rain.
Gutters, Fascia, and the Slow Rot Pattern in Older Westminster Stucco Homes
Westminster has thousands of stucco homes built between the late 1950s and early 1980s. Many of them have exposed wood rafter tails at the eave line – the ends of the roof rafters visible beneath the fascia board. This architectural detail looks charming and is common throughout the older tracts in Westminster, but it creates a specific rot pattern that homeowners in newer developments with fully enclosed eaves never encounter.
The rot mechanism is slow and starts at the gutter line. Gutters accumulate debris, water backs up or spills over the back edge, and the overspilling water soaks the fascia board and the exposed rafter tails. In Westminster’s warm climate, wet wood dries quickly on the surface – but repeated wet-dry cycles over years create deep rot that’s invisible until a rafter tail starts crumbling or a fascia board pulls away from its fasteners.
What to Look For
- Fascia board discoloration below the gutter line. Dark streaks, water staining, or paint failure on the fascia directly under the gutter typically means water is leaving the gutter system where it shouldn’t – either over the back edge or through a seam leak.
- Soft spots in exposed rafter tails. From the ground, look at the rafter ends. If they’re exposed (not wrapped in metal or enclosed by a soffit), inspect them for splitting, flaking, or a spongy appearance. A screwdriver pressed gently into the wood should meet resistance. If it sinks, rot is advanced.
- Gutters pulling away from the fascia. Gutters that sag, pull loose, or show gaps between the gutter and fascia are almost always attached to wood that’s too soft to hold fasteners. The gutter isn’t failing – the wood it’s attached to is.
- Peeling paint on the fascia and eave overhang. Paint fails from moisture first. If the fascia is peeling while the rest of the home’s trim is intact, water is getting to that fascia from behind.
Gutter maintenance in Westminster isn’t just about keeping water flowing – it’s about protecting the wood component of your eave system. The same applies to fascia board inspection. A roofer should look at rafter tails and fascia whenever they’re on the roof, but you can do the ground-level version of this check during both the September and November inspections.
What to Check From the Ground vs. What Requires a Roofer
Most of the checks in this guide can be performed safely from the ground or from a ladder at the eave line. We’re going to be direct about the line between homeowner observation and professional inspection because we’ve seen homeowners take unsafe risks to check something a roofer can assess in five minutes from the roof surface.
What You Can Safely Inspect From the Ground
- Shingle condition on slopes visible from the yard. Binoculars from ground level reveal curling, missing tabs, and granule loss on visible roof planes.
- Gutter condition, debris load, and granule accumulation. Walk the perimeter and look at the gutters from below. You can see debris, sagging, and separation from the ground in most cases.
- Fascia and rafter tail condition. Discoloration, peeling paint, and visible rot are observable from the ground with good lighting.
- Pipe boots and skylight flashing on visible slopes. Binoculars will show you cracked sealant and separated flashing on slopes you can see from the yard or from the neighbor’s vantage point.
- Ridge line condition. From across the street or from the front and back yards, you can see lifted ridge caps and ridge vent gaps.
What Requires a Roofer’s Eyes
- Anything on a slope you can’t see from the ground. Steep slopes, upper roof planes behind lower rooflines, and areas behind chimneys or dormers are invisible from the ground. We’ve found significant damage on these hidden planes during inspection visits in Westminster.
- Flashing interfaces. Headwall flashing, step flashing against siding, and chimney flashing all require close inspection from the roof surface or an adjacent ladder position. The failure modes at these interfaces don’t read well from below.
- Decking or underlayment condition. You cannot see what matters from the ground: the condition of the roof deck, the state of the underlayment, and whether any water has migrated through the shingle layer. This requires lifting shingle tabs or an attic inspection.
- Ventilation system function. A roofer can assess whether intake and exhaust are balanced and clear. The ridge vent gap you can partially see from the ground, but intake vents at the eave line and soffit are typically obscured.
What to Photograph During a Ground-Level Inspection
- North, south, east, and west roof planes – from the same spot each inspection, at roughly the same time of day for consistent light.
- Any pipe boot, vent, or skylight you can see – close enough that the sealant is visible.
- The gutter line at each corner – corners are where granule accumulation and debris show first.
- Ridge line from both ends of the house – ridge cap damage and vent gap conditions show best from a raised vantage point.
- Any area that showed a problem in the previous inspection – the comparison is the point.
If you do notice something concerning during a ground-level check, get a professional assessment before making repair decisions. Select Roof Repair offers a standalone Roof Inspection in Westminster service with no obligation to purchase repair or replacement work – the inspection is the deliverable, and we’ll walk you through what we see on the roof and what the options are.
Santa Ana Season Prep: October Through December
Santa Ana winds are the most damaging weather Westminster gets. They arrive from the northeast, compress and heat as they descend the mountains, and hit roofs at sustained speeds of 20-40 mph with gusts to 60. The wind direction matters because most Westminster roofs are oriented to handle prevailing coastal breezes from the southwest. Santa Ana winds hit the same roofs from the opposite direction, lifting shingle edges that have never been tested from that angle.
Wind damage from Santa Ana events doesn’t usually show as dramatic missing shingle sections. It shows as subtly lifted edges, exposed nail heads, and loosened ridge caps – damage that leaks slowly during winter rains and worsens with each successive wind event. The November inspection after the first Santa Anas is your best defense.
Santa Ana-Specific Checks
- Lift test for shingle adhesion at the windward edges. Shingle edges facing northeast take the most Santa Ana stress. Look for edges that sit visibly higher than the shingle course below. Gently sliding a putty knife under the edge reveals whether the self-seal strip is still bonded.
- Ridge cap inspection for windward-side lifting. Ridge caps on the northeast-facing side of the roof line lift first. Check for gaps between the ridge cap and the shingle below.
- Debris removal from roof valleys and behind chimneys and dormers. Santa Ana winds deliver leaves, branches, and sometimes entire palm fronds onto roofs. Material that accumulates in valleys traps water during winter rains. Material against chimneys and dormers creates dam points.
- Gutter check after wind events. Even if you cleaned gutters in September, check them again after the first significant Santa Ana. Wind fills gutters fast.
After any Santa Ana event with gusts above 40 mph, a quick ground-level walk around the house is worth the five minutes. If you find shingle material in the yard or see lifted edges, call for an inspection before the winter rain season starts in earnest.
Common Mistakes to Avoid
- Following a spring/fall maintenance calendar written for other climates. A checklist designed for New England or the Midwest misses the two windows that actually matter in Westminster. If your current routine is “check the roof in spring and fall,” you’re inspecting too late in fall and too early in spring for our climate’s damage cycles.
- Re-caulking over degraded sealant instead of removing it. Sealant doesn’t bond to old, chalky, UV-degraded sealant. A new caulk bead applied over old material peels off within months. The old bead needs to be scraped and cleaned first.
- Cleaning gutters but ignoring the ridge vent gap. Homeowners reliably clean gutters because clogged gutters are visible from the ground. The ridge vent gap isn’t visible from the ground, so it gets skipped. In Westminster’s moisture-bake cycle, blocked ridge ventilation causes more damage than clogged gutters.
- Walking on a roof that’s too steep or too hot. Roof surfaces in Westminster hit 140°F in summer. Walking on shingles above 90°F damages granules and risks a fall. If you’re not comfortable on a roof, or the pitch exceeds 6:12, stay on the ground and call for an inspection.
- Assuming a small leak isn’t urgent because we don’t get much rain. A small leak doesn’t stay small, and the damage happens between rain events, not during them. Moisture trapped in the attic and decking breeds mold and rot even during dry spells.
- Ignoring granule accumulation in gutters because “shingles always shed granules.” Some granule loss is normal. Heavy accumulation at gutter seams – especially if it’s year-over-year accumulating – indicates accelerated shingle degradation and a roof approaching replacement age.
- Replacing a roof based on a single September inspection without comparing to prior photo documentation. Roof aging is gradual. A single inspection shows point-in-time condition. Photo comparisons over 2-3 years reveal the progression rate, which is what actually matters for planning.
When to Call a Professional
Call a roofer if your ground-level inspection reveals lifted shingles, cracked sealant around penetrations, accelerated granule loss, or any interior evidence of leakage – ceiling stains, attic moisture, or musty odors that appear after rain. Call after any Santa Ana event that leaves shingle material in the yard. Call if your home is approaching 18-20 years old with the original roof and your inspections are showing progressive degradation. Call if the fascia or rafter tails show advanced rot that extends beyond surface paint failure. These are all conditions where a professional assessment changes the decision calculus between repair and replacement.
Select Roof Repair works exclusively on roofs – Roof Repair in Westminster and Roof Replacement in Westminster are what we do, alongside standalone inspections. We don’t dilute attention across unrelated trades. Our free estimates in Westminster start with a phone call to (855) 382-0485, and an inspection doesn’t commit you to anything beyond receiving an honest assessment. The right material for your roof, not ours.
Frequently Asked Questions
Twice a year – once in September after the marine-layer bake season has stressed sealants and shingles, and once in November after the first Santa Ana winds have tested shingle adhesion. A single annual inspection misses either the UV damage window or the wind damage window, depending on when it falls.
Inspection pricing varies by roof size and complexity, but Select Roof Repair provides inspection as a standalone service – you’re not required to purchase repair or replacement work to get a professional assessment. Call (855) 382-0485 for current inspection pricing on your specific home.
You’ll see hairline fractures running through the sealant bead, a visible gap where the sealant has separated from the pipe or flashing, or a chalky, powdery surface texture that indicates UV degradation. Any of these means the sealant has failed and is allowing water to reach the penetration point, even if you haven’t seen interior leakage yet.
It depends on the pitch, the roofing material, and the surface temperature. Walkable roofs are typically 6:12 pitch or lower with asphalt shingles in good condition. Anything steeper requires a roof harness and a professional. Never walk on a roof when surface temperatures are above 90°F – the shingles are soft and you’ll damage granules.
Blocked ridge vents. The gap between the roof deck and the ridge vent fills with compacted debris over time, restricting attic ventilation and trapping heat and moisture. This accelerates shingle aging and causes attic moisture damage, but it’s invisible from the ground and rarely checked until a problem forces the issue.
No. Most roof problems are repairable when caught early – sealant replacement, shingle tab replacement, flashing repairs, and ridge cap re-securing are all targeted repairs that extend serviceable roof life. Replacement becomes the right call when degradation is widespread, the decking is compromised, or the roof is approaching the end of its realistic service window. Start with an inspection, then decide.
The Bottom Line
Westminster roofs need a maintenance discipline that respects the actual stresses our climate delivers: UV baking from late spring through early fall, and Santa Ana wind events from October through December. The two-inspection rhythm – September for sealant and shingle condition, November for wind damage and gutter loading – catches the failure modes that lead to leaks and premature roof aging. The ridge vent gap is the most consistently skipped item and the one with the highest damage potential per minute of maintenance time. Keep the warranty obligations in mind: blocked ventilation, neglected sealant, clogged gutters, surface debris, and undocumented granule loss all create manufacturer grounds for claim denial.
If your inspections turn up something you can’t identify or fix confidently, call (855) 382-0485 to schedule a free estimate. Select Roof Repair handles inspection, repair, and replacement across Westminster – and we’ll tell you honestly which of those three fits your roof’s actual condition. Repair when it makes sense. Replace when it doesn’t.
Written by the team at Select Roof Repair, serving Westminster since 2018. Explore more guides & resources on our blog.
See the difference
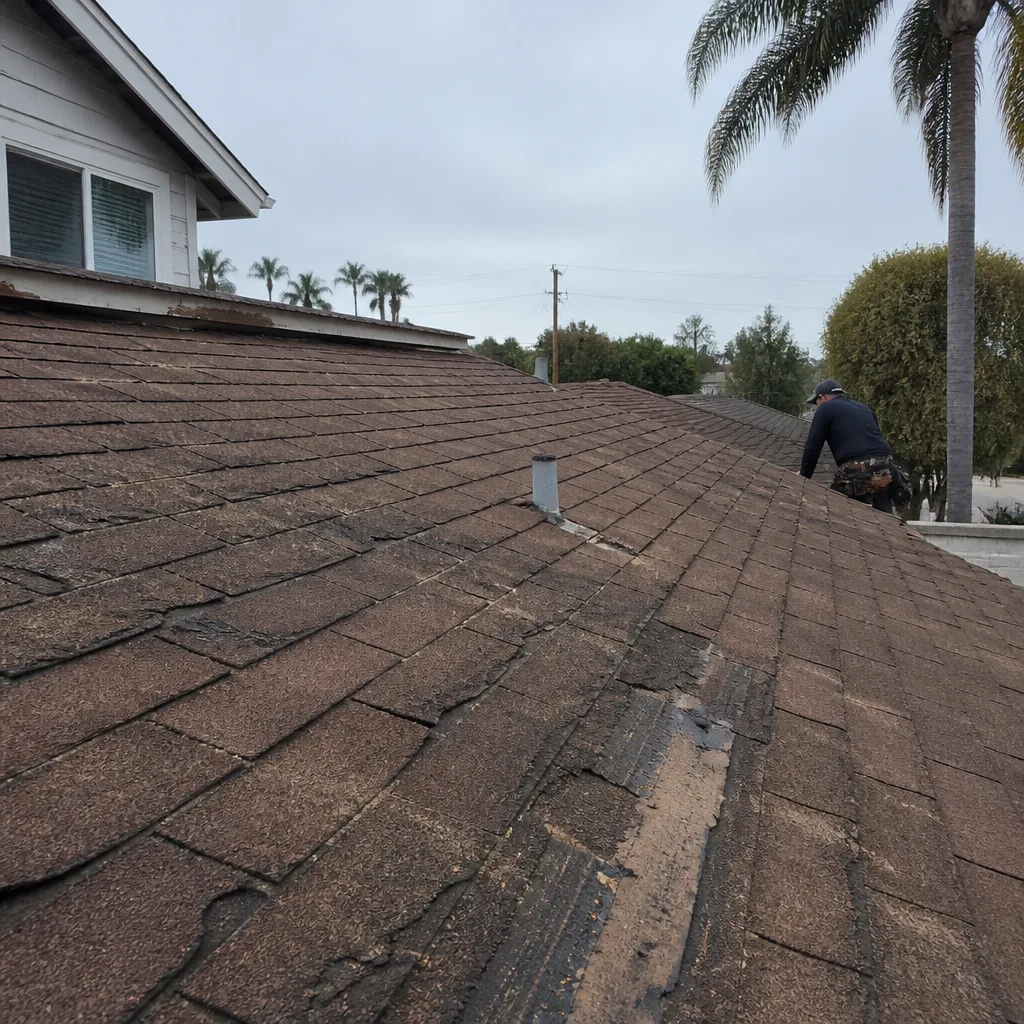 Before
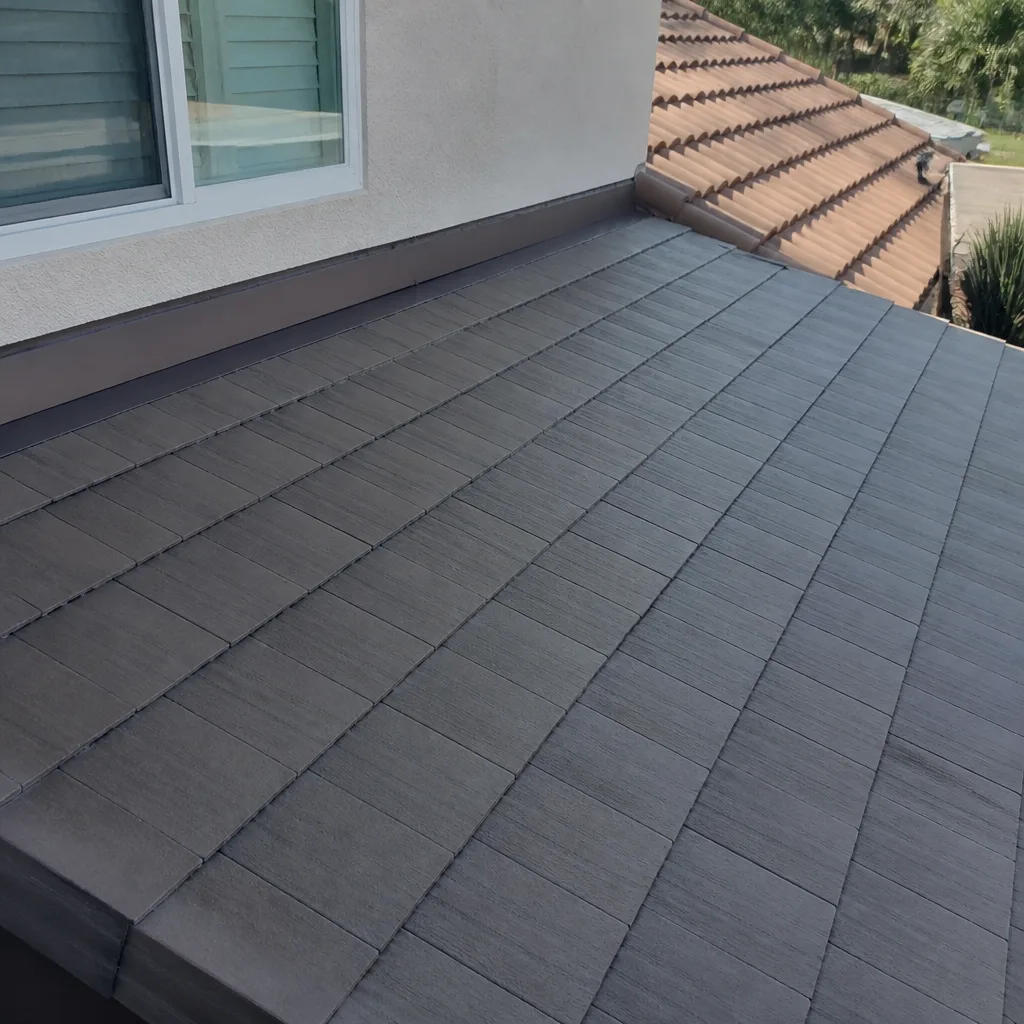 After
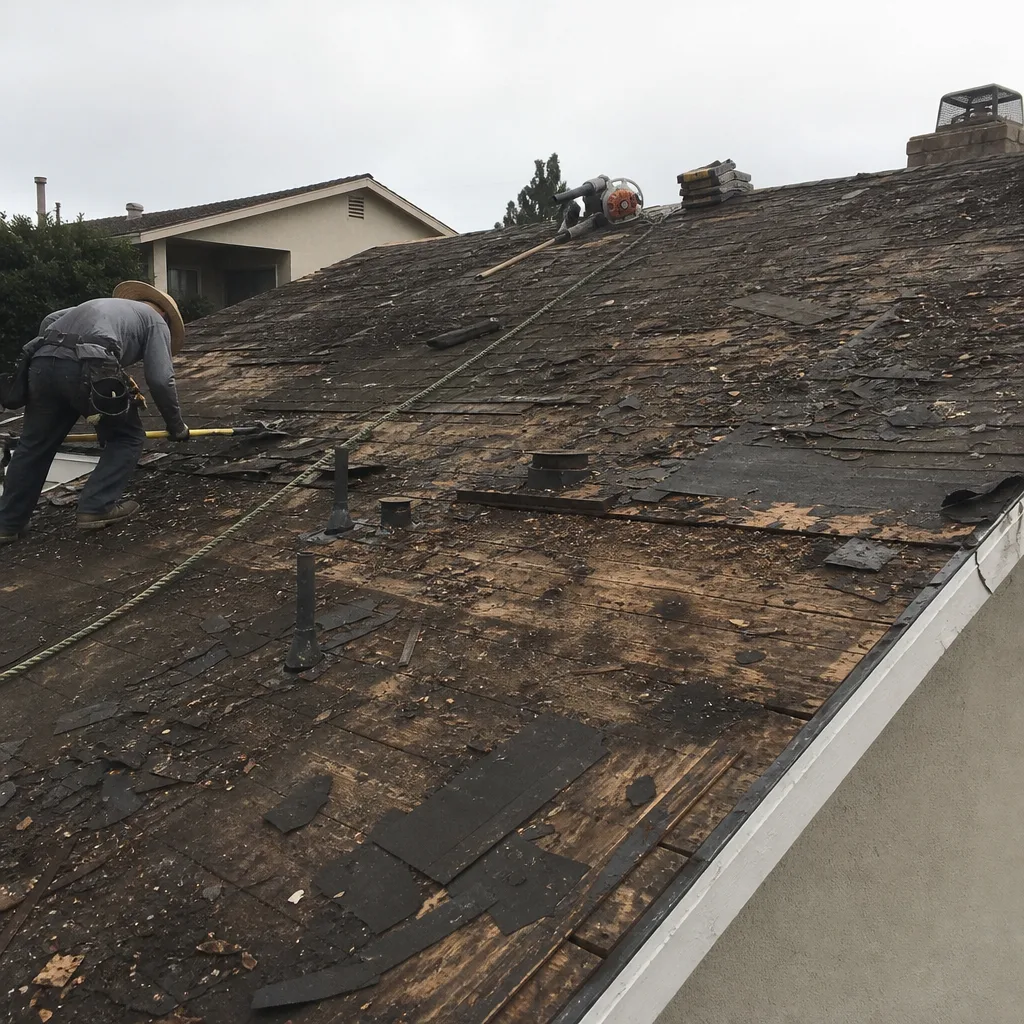 Before
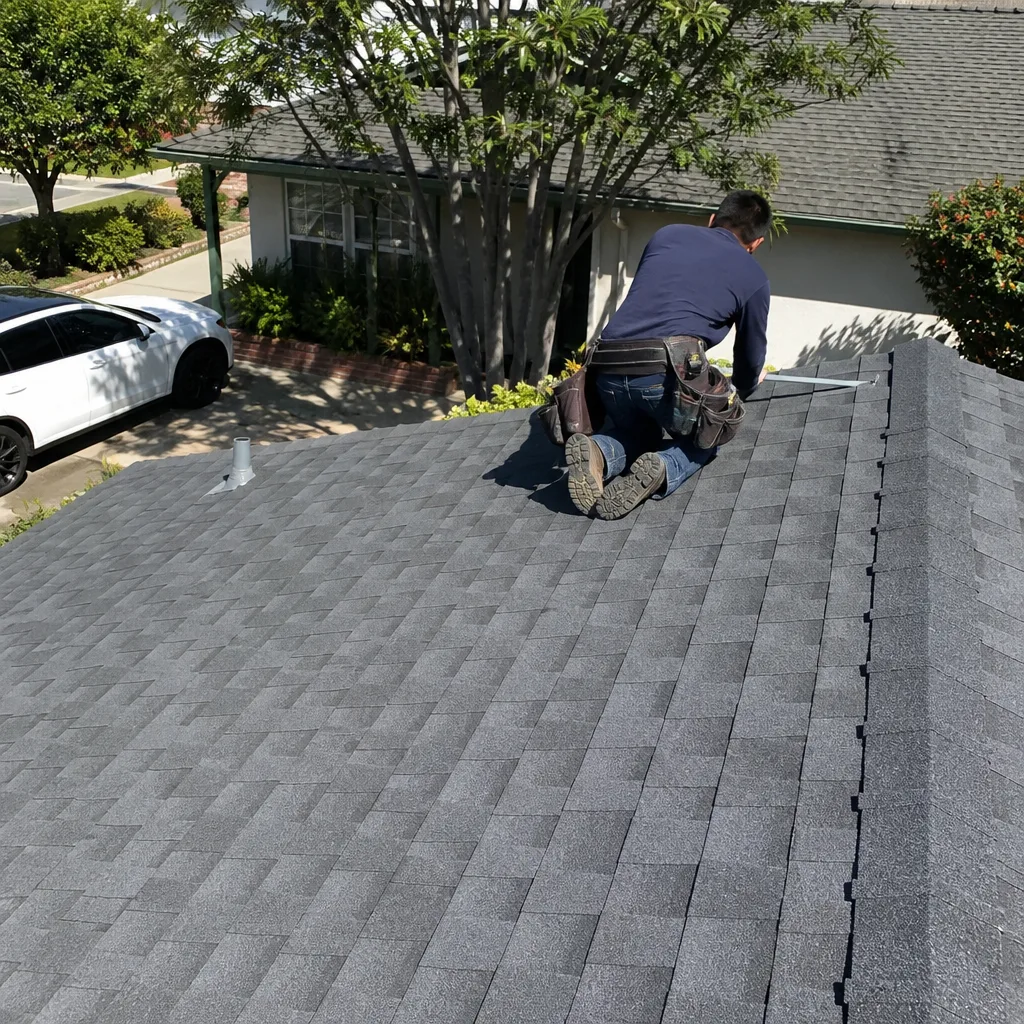 After
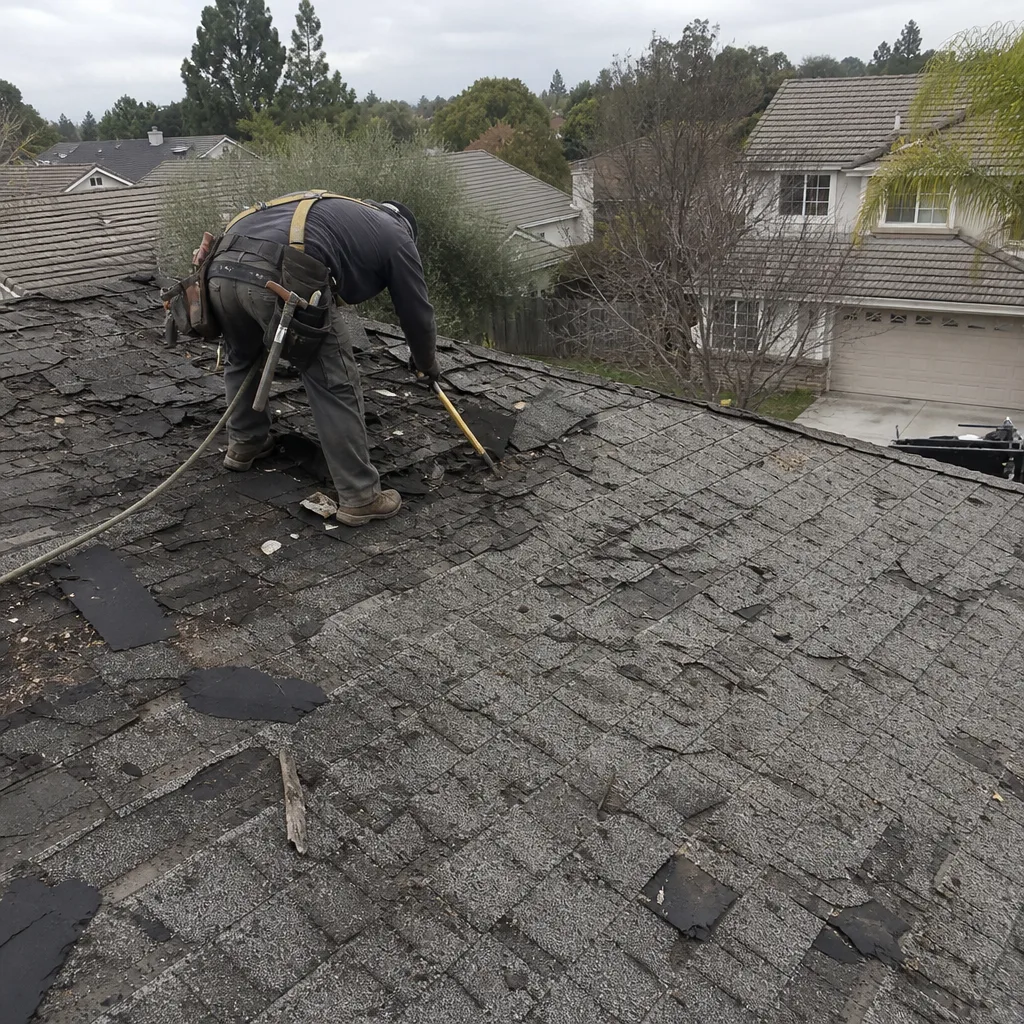 Before
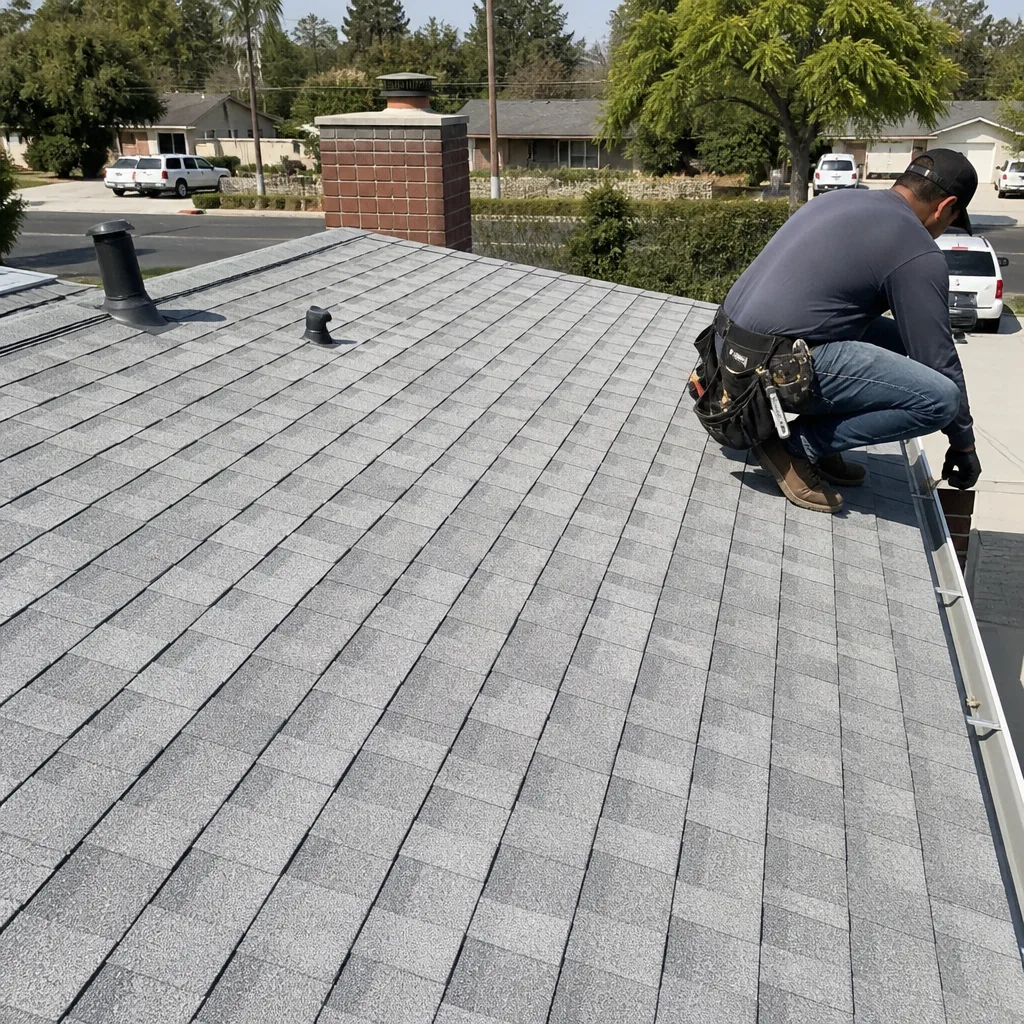 After